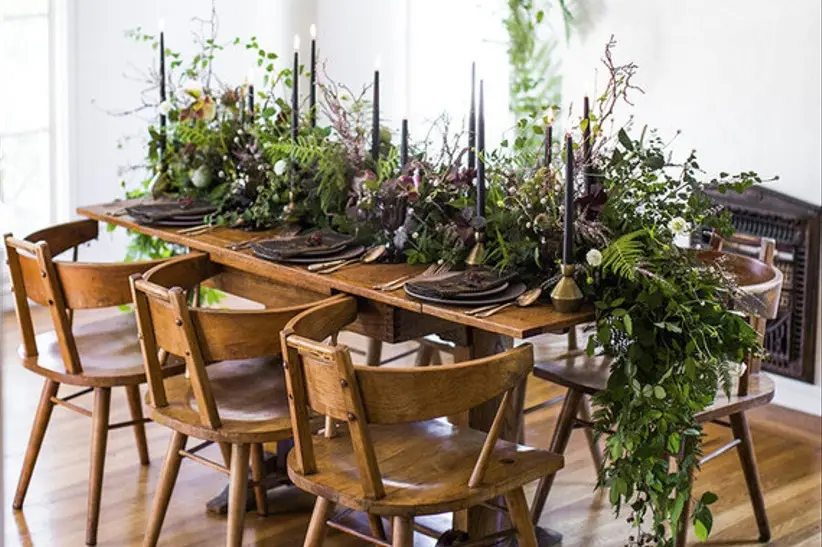
Adding a touch of natural beauty to your home decor is always a wonderful idea. One way to achieve this is by creating a greenery garland. Greenery garlands are versatile, and customizable, and bring a refreshing aesthetic to any space. Whether you want to adorn your fireplace mantle, staircase, or dining table, a greenery garland is a fantastic choice. In this article, we will guide you through the steps of making a greenery garland for your DIY home project. You don’t need to be a crafting expert; with a little creativity and effort, you can easily create a stunning garland that suits your style and enhances the ambiance of your home.
Table of Contents
Selecting the Right Greenery
The first step in making a beautiful greenery garland is selecting the right greenery. Choose fresh or artificial greenery based on your preference and availability. If you opt for fresh greenery, consider using eucalyptus, ivy, or ferns.
These varieties are durable and have a lovely fragrance. Artificial greenery is a great option if you want a longer-lasting garland that requires minimal maintenance. Look for realistic and high-quality artificial foliage that closely resembles natural plants. Whichever option you choose, ensure that the greenery is pliable and easy to work with. Remember, the success of your garland largely depends on the quality and selection of greenery.
Gathering the Supplies
Before you start assembling your greenery garland, gather all the necessary supplies. This will ensure a smooth and uninterrupted crafting process. The essential supplies you will need include:
Greenery: Select the greenery you’ve chosen in the previous step. Aim for a variety of textures and shades to create visual interest in your garland.
Floral wire: This will be used to secure the greenery together. Opt for a sturdy gauge wire to provide ample support.
Wire cutters: These will help you cut the floral wire to the desired lengths.
Decorative accents: If you want to add extra flair to your garland, gather decorative elements such as pine cones, berries, or ribbon.
Scissors: You will need a pair of scissors to trim the greenery and any additional decorations.
Twine or ribbon: This will be used to hang the garland once it’s complete.
Hot glue gun : If you’re using artificial greenery or adding decorative accents, a hot glue gun can be handy for secure attachment.
Preparing the Greenery
Now that you have your greenery and supplies ready, it’s time to prepare the greenery for assembly. Start by trimming any excess leaves or stems that may hinder the garland’s flow. Ensure that the greenery pieces are in uniform lengths for a consistent look. Take into consideration the area where you plan to display the garland and adjust the length accordingly.
If you’re using fresh greenery, remove any wilted or discolored foliage. By preparing the greenery in advance, you’ll have a more organized and efficient garland-making process. Once the greenery is properly prepared, you’re ready to move on to the next step of assembling the garland.
Assembling the Greenery Garland
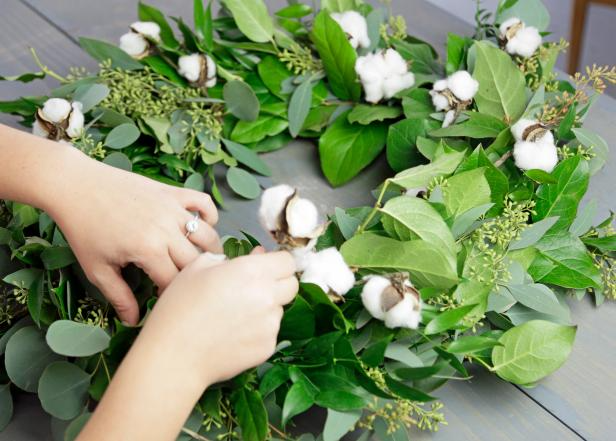
Now comes the fun part—putting your greenery garland together! Lay out your prepared greenery in the order you want them to appear in the garland. Start by taking one piece of greenery and attaching it to the floral wire using the wire cutters. Wrap the wire tightly around the stem or base of the greenery, securing it in place.
Continue adding more greenery to the wire, overlapping the stems or bases for a cohesive look. Make sure to secure each piece firmly to prevent any loose foliage. As you progress, periodically check the length and shape of the garland to ensure it meets your desired aesthetic. If you’re adding decorative accents, incorporate them into the garland as you go. Repeat this process until you’ve used all your greenery or achieved the desired length.
Adding Final Touches
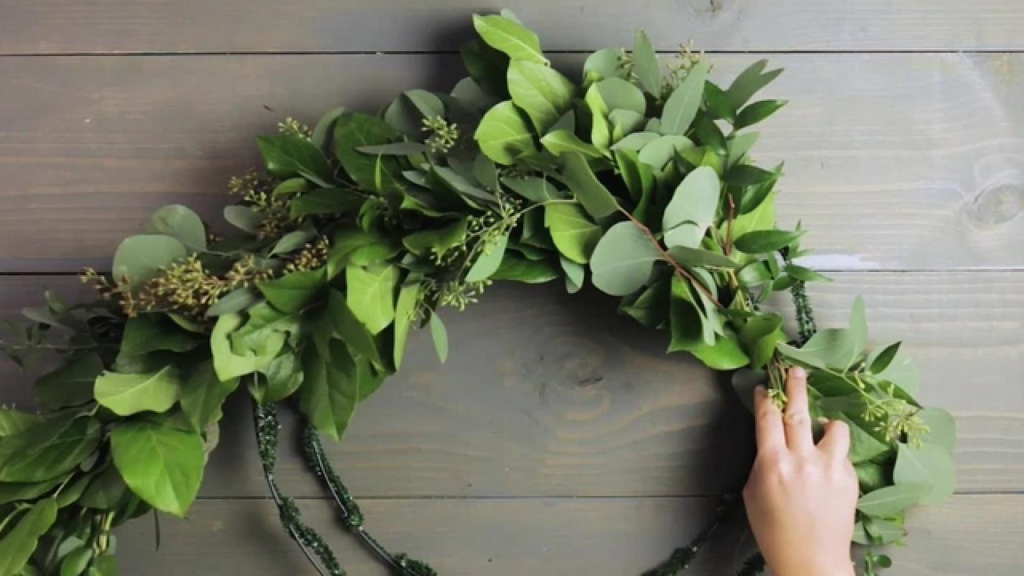
Once your greenery garland is complete, it’s time to add those final touches that will make it truly unique. Take a step back and assess the overall appearance of the garland. Make any necessary adjustments, such as tucking in loose leaves or rearranging the greenery for a more balanced look. If you’re using artificial greenery, fluff and arrange the foliage to create a natural and organic effect.
For a more festive touch, incorporate decorative elements like pine cones, berries, or ribbon. Attach them securely with floral wire or hot glue, ensuring they are evenly distributed throughout the garland. Additionally, if you plan to hang the garland, attach a length of twine or ribbon to each end. Now, your greenery garland is ready to be displayed and admired!
Conclusion
Making a greenery garland for your DIY home project is an enjoyable and rewarding endeavor. By following these simple steps, you can create a stunning decor piece that brings a touch of nature and elegance to your living space. Remember to select the right greenery, gather all the necessary supplies, prepare the greenery properly, and assemble the garland with care.
Adding final touches and personalizing the garland with decorative accents will give it a unique and individualized touch. Whether you’re decorating for a special occasion or simply sprucing up your home, a greenery garland is a versatile and timeless choice. Embrace your creativity, enjoy the process, and let your greenery garland be a beautiful reflection of your personal style and love for nature
Learn about: Revitalize your living space with stunning green accent walls: Unleash the power of nature’s hue and elevate your home’s ambiance